Showing posts with label tokens. Show all posts

Sunday, September 27, 2015

Treasure Tokens - Scrolls


This will be a quick tutorial to start off my series on making treasure tokens. 

We are making scrolls today! 
This morning, you might have made coffee the “old-fashioned way”: with a filter.  I recommend unbleached basket filters for crafts.  You can use them straight out of the package, but soaking them in tea or coffee (or just using them to brew) softens any manufactured edges and ages them perfectly.  Set out coffee and filter in the sun outside to dry.

SIDETRACK:  You can wash the coffee grounds and dry them in the oven or outside to use as dirt for basing and terrain work.  Dried, used coffee grounds are great for terrain and bases!

Sorry for getting side-tracked – back to the filter.  Once the filter is dried (likely that night unless it is Summer) you cut pieces from it.  I made my strips 7/16th of an inch wide, or just under an inch (approx. 2.3 cm).  I made the length 2.5 inches long for each scroll (6.5 cm).  You can cut them longer to make them more bulky, but I wanted these smaller. 


As you can see from the first photo, even after you scrape off the coffee, there is residue.  That side of the filter will be the outside of your scroll, but you still may or may not want the residue on there.  Take a stiff brush or an old toothbrush and sweep your filter with medium pressure until you have the right amount of residue for your project.  My scrolls might have been on the ground, so they would have collected some dirt.  I brush it twice to clear off any large pieces, but the rest of residue clings to the paper.
 

Take a toothpick and press it to on the inside edge of the cut paper.  Then, roll the paper up on the toothpick like a spool (see image below).  Pinch lightly so it does not unravel and slide the tooth pick out.  Take a small dab of white glue and apply it to the inside of the edge and then light press so it sticks together.  You can unroll a part of the scroll and glue it farther down the length to give it the look of the scroll unraveling, exposing its arcane symbols and esoteric text.  That can be applied with a fine point pen – I do not recommend ballpoint.  I really like Uniball pens. The gel ink offers sharp edges and the thinner tip means less to smear for those left-handers like myself.


 After the glue dries, you have your scrolls, ready to be added to Scheme/Scenario Markers, on bases, or somewhere on your miniatures.  You can wrap some twine around a single scroll to give it the look it is being stored or transported; you can tie together a  whole bundle of them an put them on a cart, in a crate, or on a bookshelf.  You can also get some thin satin ribbon to make the scroll/bundle look more precious, regal, or official.   The ones I made are going to be the scrolls belonging to a learned hermit and were left behind in the hermit's haste to flee , so they are not bundled, one has partially unrolled where it lies.
 
There are more tutorials to come in this series on treasure.  We will making chests, sacks, books, potions, and anything else catches our eye.  Any suggestions?
I hope this sparked some imagination and I wish you a great day as you enjoy your journey!

Saturday, August 22, 2015

4-Player Story Encounter markers

There are story Encounters that use the four suits in their set-up and the players Scenario.
Below is an image of such a game's set-up where we had to deploy four 30mm markers representing the four suits onto the table  and the players later pulled aces or jokers to see which one of the markers was their target.  If you pulled an ace, your goal was to Interact with that particular marker and then hold onto it for the rest of the game for 3 VP.  You could get another VP for grabbing one of the other Markers.  Joker meant you could grab any marker, but each one was only worth 2 VP.   Max for Scenario was 4 VP, so Schemes were still important and even more important for the player with the Joker.


Table


Deployment from Bird's-eye view.


The silver rounds on top of the 30 mm markers have 1 of the 4 suits written on them.
 Each marker was placed on the table by a player prior to drawing their Scenario win-condition.  Most placed the Markers mid-table.  The silver rounds are Fantasy Flight plastic tokens I bought on sale and they are pretty great for writing on with a dry-erase marker, but they do stand out and I am always looking to replace them with more thematic tokens when I can.

I found some cake toppers that I am in the process of staining and dinging-up to replace a the silver tokens for these Scenarios.

I am liking how they are turning out thus far:


FYI

It has been so long since the game, I do not have a Battle report, but here are the participants seen in the set-up.

Top Left:  Ten Thunders' Kang and 3 Rail Workers
Top Right:  Arcanists' Snowstorm, 2 Ice Gamin, and December Acolyte
Bottom Left:  Guild's Sadhir and 3 Westrels
Bottom Right:  Resser Valedictorian, 2 Rotten Belles, and Effigy

Guild left the game on the 3rd turn and the game ended with Arcanists and Ressers tied.
Ten Thunders could have actually won the game, but the player dedicated the crew to attacking other than following their Schemes and Scenario (I believe they pulled the Joker which meant they could get 2 VP for grabbing any of the markers).  Combat is a means to an end in this game rather than the sole purpose of the crew which I love about Malifaux.  


Wednesday, July 29, 2015

Miniatures Monday - July 27th

Miniatures Monday at Battleground Games in North Charlotte!

This was the second game for Andrew.  He just was initiated into the world of Malifaux and selected Mei Feng and her Crew Box for Arcanists as his intro. The miniatures look great and she is just amazing on the table.  I think she is the toughest Master I have had to deal with so far!  I will add my spin on the battle report in another post, but for now I wanted to share the table we played on, our deployments and a snapshot of the 6th turn when the final blow was dealt. 

Andrew and his crew of Arcanists did prevail against Seamus' band of Resurrectionists.  It was all about completing his Scenario and Scheme. Mei was a melee powerhouse the entire game so the Arcanists had 3 VP from Reckoning, while Seamus only was able to get 2 VP.  I was able to Assassinate Mei while keeping Seamus at 12 Wounds, but I failed to keep four scheme markers down on the center line for Line in the Sand - that Emberling was dropping Scheme Markers like it was getting overtime at the USPS. We shared Strategy and Schemes and had them declared since this was his second game and it is best to slowly acclimate to the rules and add the complexity in layers.  All in all, it was a great game!

Well played, Andrew, and welcome to the game!


Seamus and the beginnings of my Fox Hunt crew!

Mei and her Rail Crew!


Lots of corpses in the end.  I think Kang and the Emberling were all that remained of the Rail Crew.  Seamus and the Carrion Effigy were all that remained on my side.  I was able to summon only 3 Dead Doxies due to bad Fate hands.

Saturday, July 4, 2015

Update: Corpse Markers

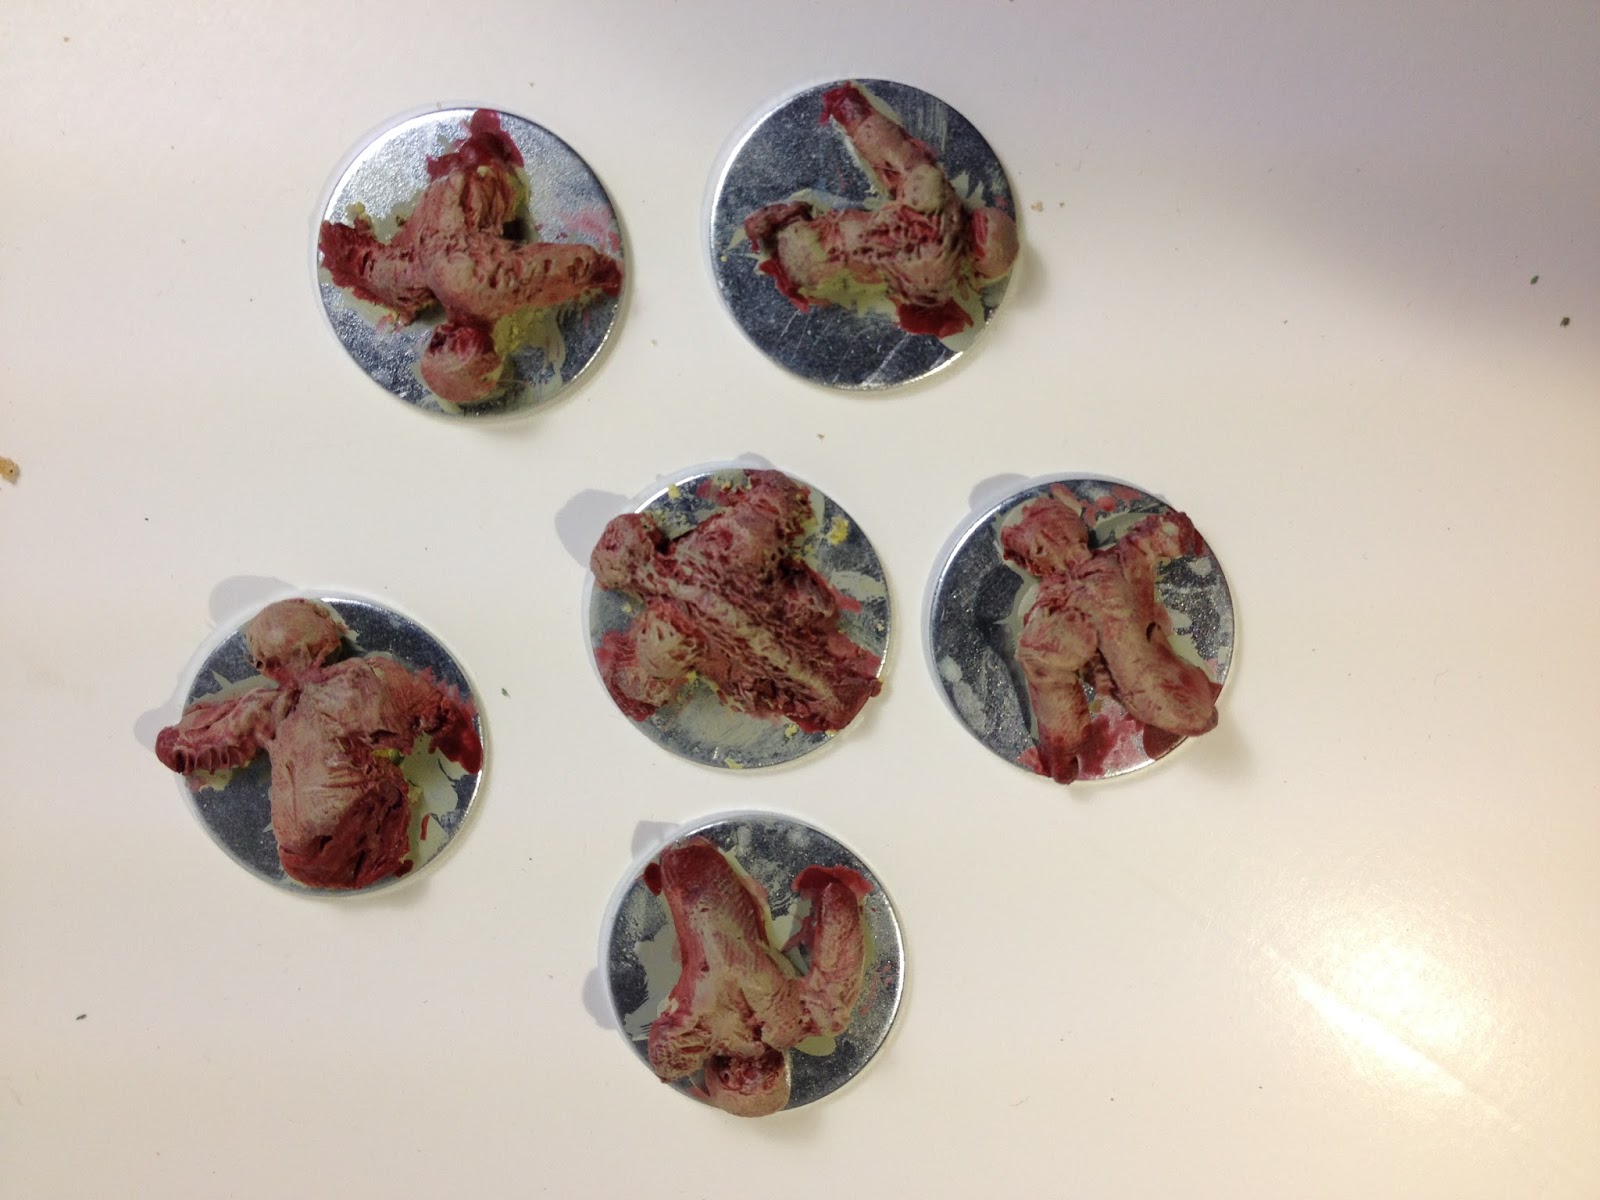
Some more progress with my first batch of Corpse Markers!  

I have pretty much finished with my initial six markers and I am very pleased with them.  I may go in later and add tiny details, but their look will not change from this:


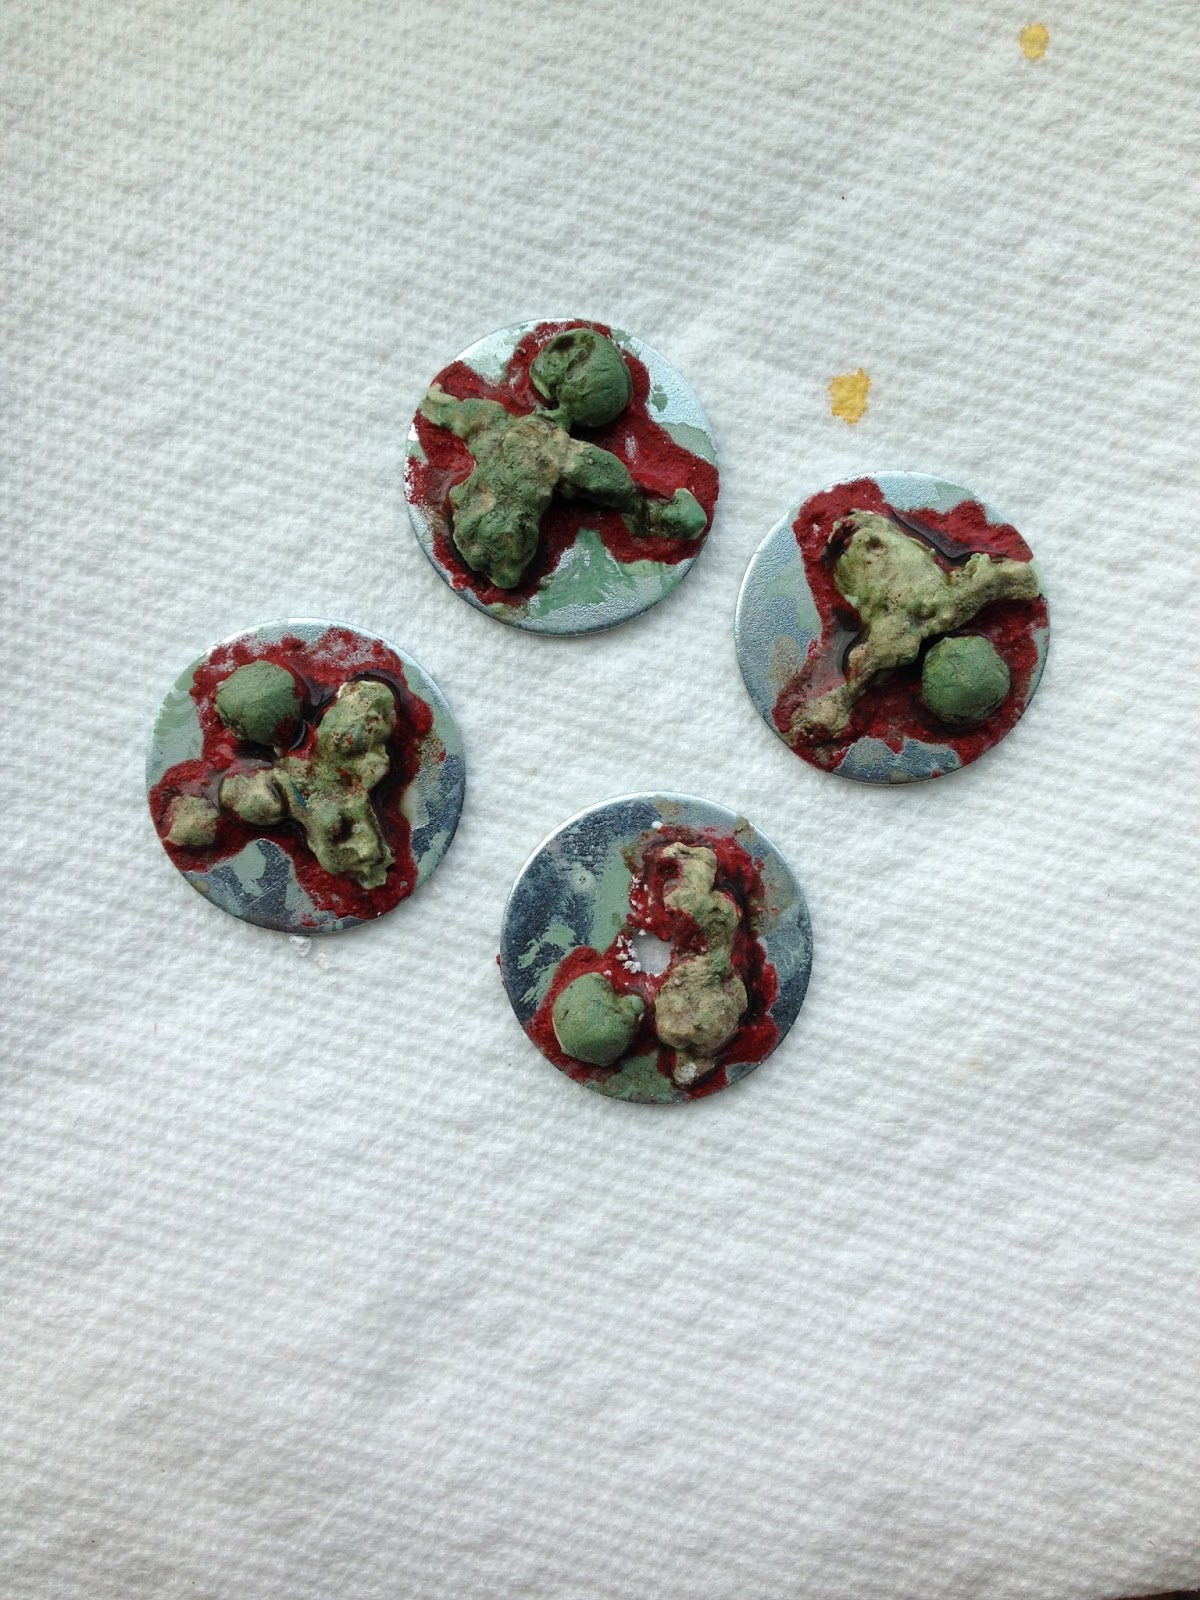
For my next set I attempted a smaller batch of 4 markers.  I decided to experiment with spackle paste as a potentially faster, easier medium considering Milliput has to be mixed and then it will set in a short time, so what is mixed has to be used which leads to procrastination until I have side projects ready to accept the inevitable surplus of Milliput I mix.

Skeleton - again, balsa wood and wood glue attached to metal washers


Fleshing out - layers of spackle paste.  Each layer dries in less than an hour and really easy scrape and carve after it dries.

Glue/paint - this was different than the  others.  The spackle paste felt much more fragile than the Milliput so I am nervous about it breaking off.  I made a sludge of wood glue and paint and edged the sculpts with it to create a solid base that might strengthen the marker once set.
 

I wanted these models to look dug-up so I could use them with my Resurrectionists, especially the ever-loving Canine Remains, so I used some coffee grounds  and glue to cover the washer and partially the models.  They are drying right now, but they will just get a brown/green wash again and maybe a beige dry brush just to the two highest points on each marker.

Wednesday, July 1, 2015

Corpse Markers

I am currently working on a series of posts concerning running demonstrations, but it is taking me longer than I had originally planned. 

For now, to keep the blog-blood flowing, I am posting WIP pictures of some corpse markers I am working on.  I have gotten as far as the base coat and the first wash of six tokens.  I still need to work on the detail painting and filling in the bases to increase the contrast and conceal the metal.  If all goes well, I will be making 12 total.


Skeletons - made from balsa wood and wood-glued to metal washers :


Fleshing out the skeletons:  pictured are all Milliput sculpts, but you can use anything that air-hardens.


Base coat and wash:


More pictures to come of these as well as some Wild West/Mining Camp buildings I am working on.
Also coming in July are some discussions on how I like to run demonstrations and maybe a bat rep or two!